Easy_Side_Fishtail_Header_Image.jpg
GET THE LOOK

EASY SIDE FISHTAIL

Achieve style at its simplest with an easy side fishtail braid. Braids are the go-to easy hairstyles for long hair to do at home that epitomises laidback luxe. Braids don’t have to be tight and taut – this fishtail braid showcases a loose, breezy plait with a tousled texture.

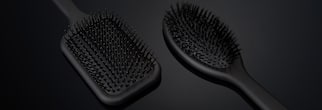
The key to an edgy side fishtail is an undone finish. Before braiding hair, the ghd paddle brush will allow you create a deep side parting to form your braid hairstyle. Loosen off sections of hair at your hairline and use the ghd platinum+ styler to craft wavy movement. Stretching your plaits out and working your fingers through your wavy tendrils guarantees a laidback finish for your braid hairstyle.

Get chic casual style with an easy side fishtail. Follow the ghd hair braid tutorial and master this boho braided hairstyle.

Easy_Side_Fishtail_Split_Banner.jpg

HERE’S HOW TO GET AN EASY SIDE FISHTAIL BRAID

1. Create deep side parting

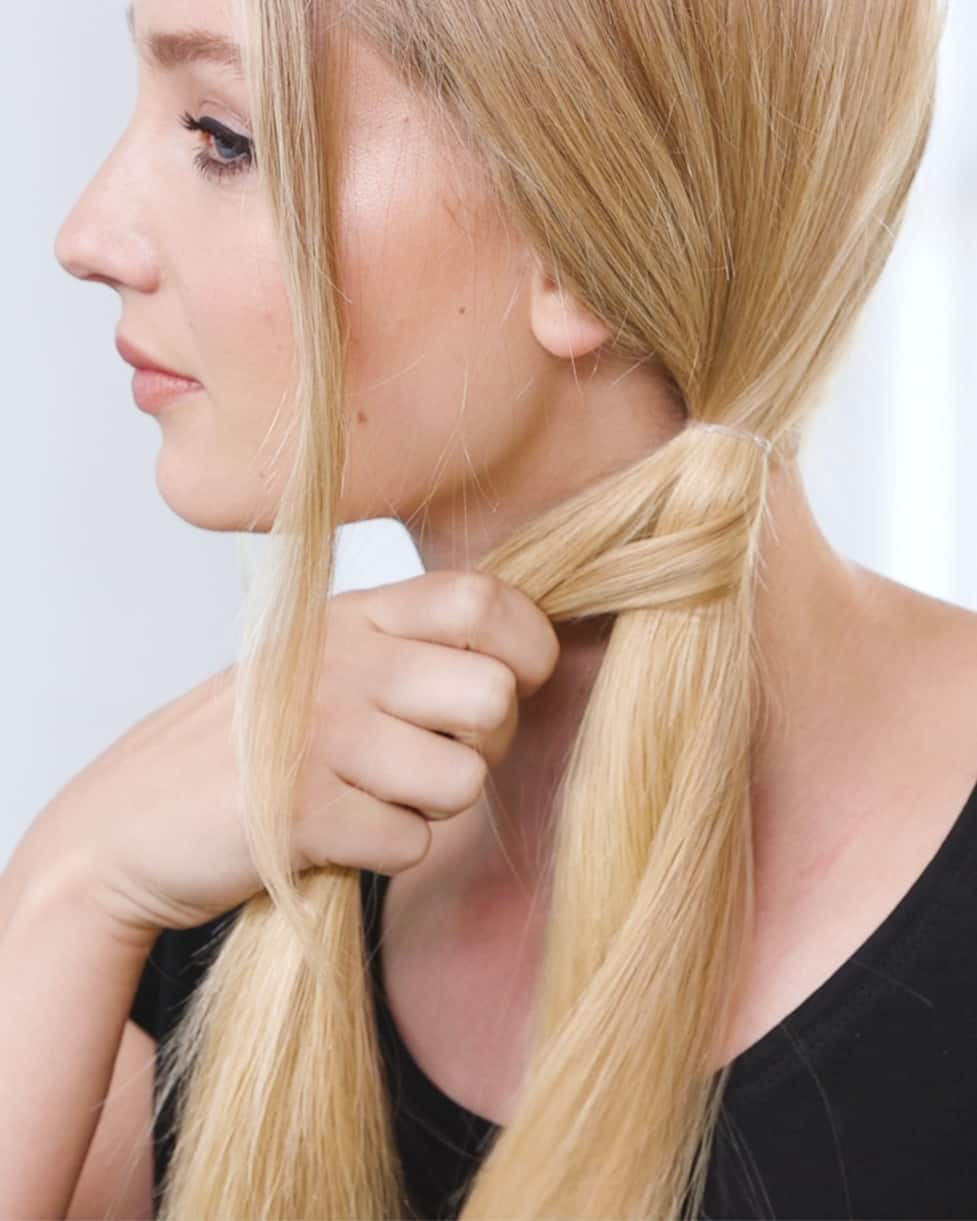
2. Secure hair in low side pony

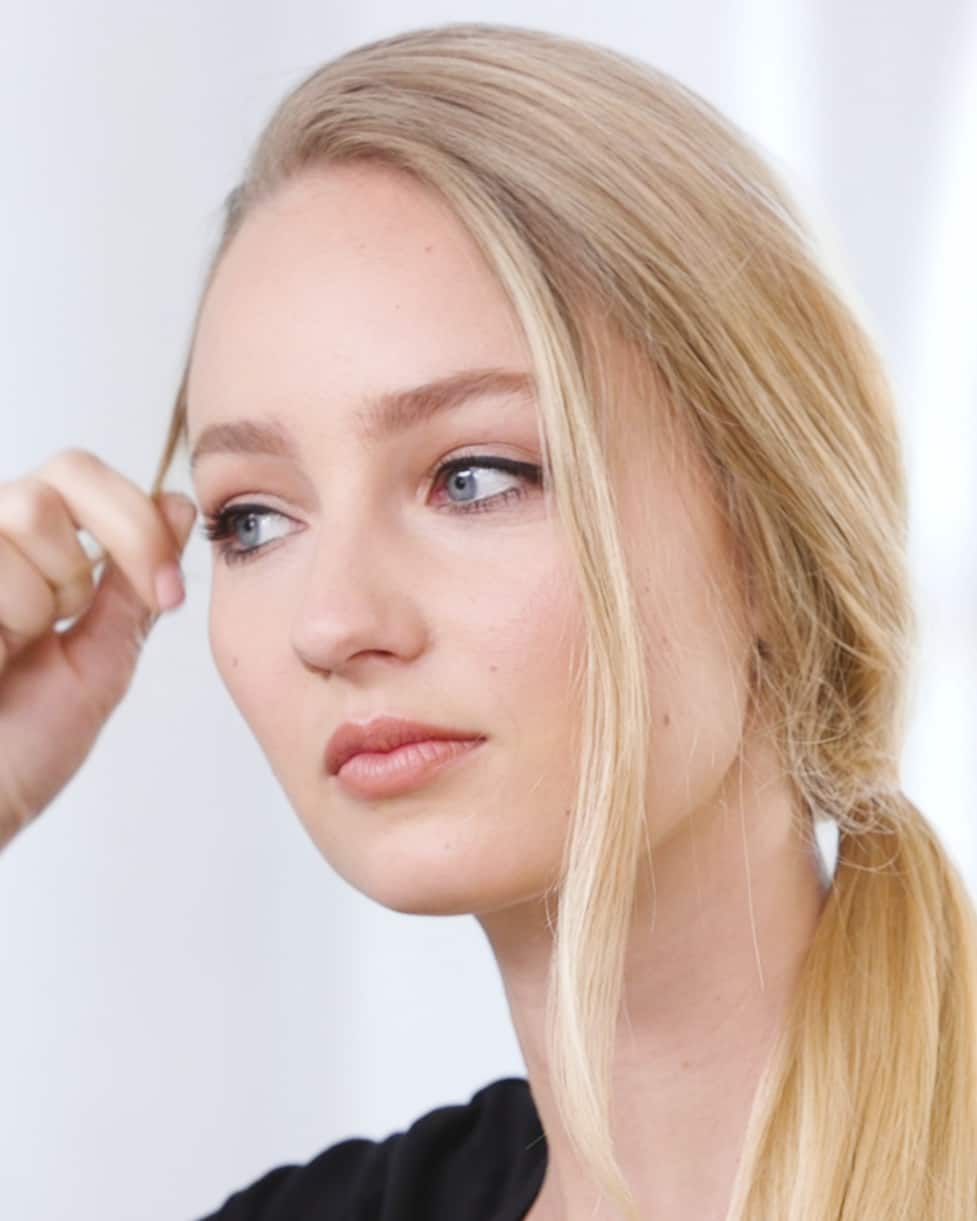
3. Loosen front sections

4. Split pony in two

5. Take section from left, pass outside
and over top into right

6. Take section from right, pass outside
and over top into left

7. Repeat steps 5 and 6

8. Secure with elastic

9. Cut top elastic at top of braid

10. Stretch braids with fingers

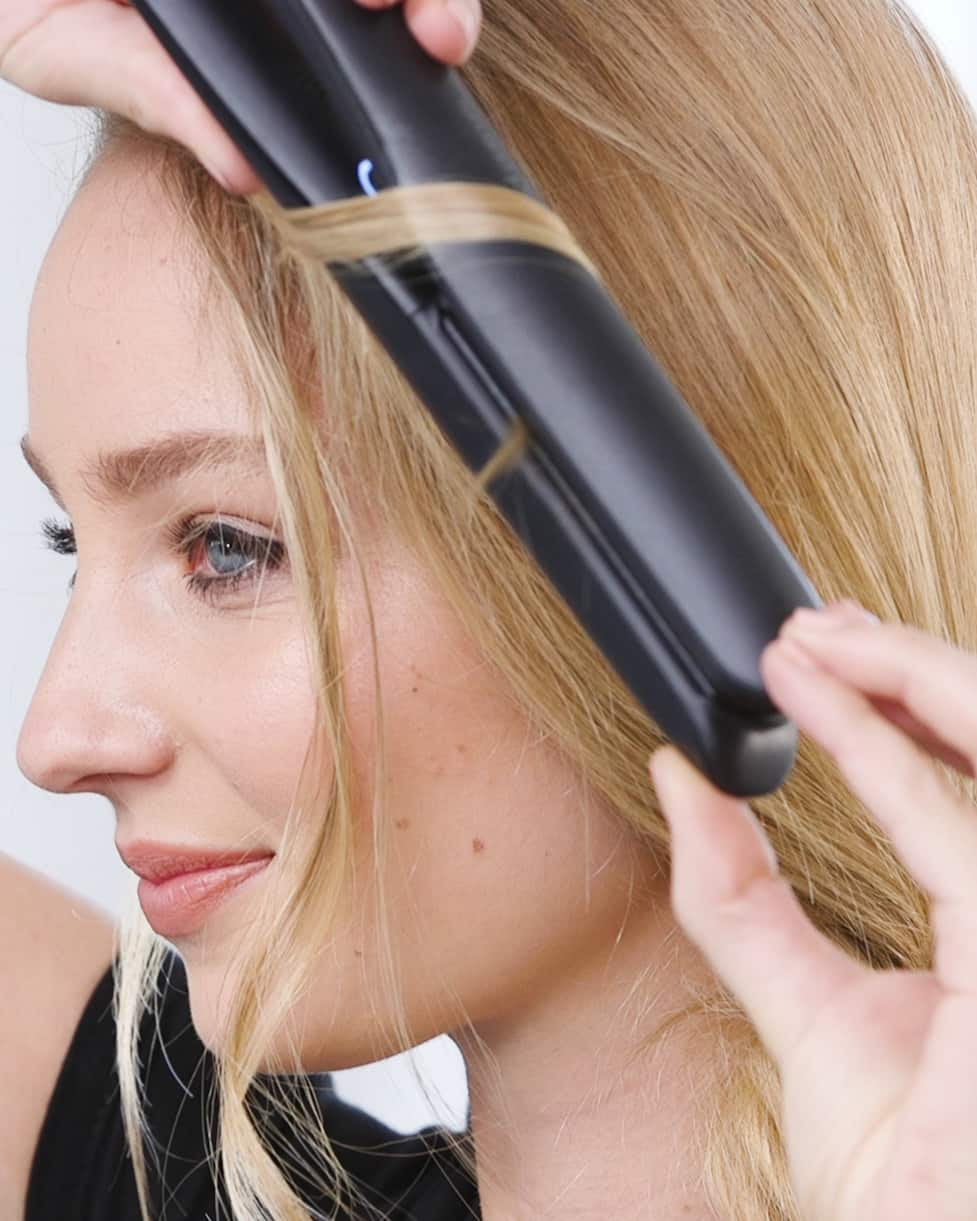
11. Curl loose front sections with styler

12. Separate waves with fingers

STEP BY STEPS

Easy_Side_Fishtail_Step_1_Grid.jpgSTEP 1

CREATE DEEP SIDE PARTING

Take the ghd paddle brush and brush through the hair, creating a deep side parting.

Easy_Side_Fishtail_Step_2_Grid.jpgSTEP 2

SECURE HAIR IN LOW SIDE PONY

On the opposite side of the parting, secure your hair into a low pony, using a hair elastic to keep it in place (you’ll need to cut through this later).
Easy_Side_Fishtail_Step_3_Grid.jpgSTEP 3

LOOSEN FRONT SECTIONS

Starting from your parting, loosen a few tendrils of hair, ready to be curled later on.
Easy_Side_Fishtail_Step_4_Grid.jpgSTEP 4

SPLIT PONY IN TWO

To start your fishtail braid, split your ponytail into two equal sections.
Easy_Side_Fishtail_Step_5_Grid.jpgSTEP 5

TAKE SECTION FROM LEFT, PASS OUTSIDE AND OVER TOP INTO RIGHT

Take a small section of hair from underneath the left section and pass it under, around the outside and over the top of the right section before joining it back to the left side.
Easy_Side_Fishtail_Step_6_Grid.jpgSTEP 6

TAKE SECTION FROM RIGHT, PASS OUTSIDE AND OVER TOP INTO LEFT

Repeat step five on the right section, passing it around and over the left side.
Easy_Side_Fishtail_Step_7_Grid.jpgSTEP 7

REPEAT STEPS 5 AND 6

Keep repeating this technique to the ends of your ponytail, using small sections each time, ensuring you pull the style tight with each new section of hair.
Easy_Side_Fishtail_Step_8_Grid.jpgSTEP 8

SECURE WITH ELASTIC

When you come to the end, secure the braid in place with a hair tie.
Easy_Side_Fishtail_Step_9_Grid.jpgSTEP 9

CUT TOP ELASTIC AT TOP OF BRAID

Carefully cut the elastic at the top of the braid that was used to create the ponytail.
Easy_Side_Fishtail_Step_10_Grid.jpgSTEP 10

STRETCH BRAIDS WITH FINGERS

Starting at the top where your elastic sat, gently begin to tease the hair with your fingers, pulling outwards to create a wider, flatter braid. Continue down the plait until you achieve the desired look.
Easy_Side_Fishtail_Step_11_Grid.jpgSTEP 11

CURL LOOSE FRONT SECTIONS WITH STYLER

On the loose sections around the face, place the ghd platinum+ styler at the roots pointing downwards, rotate away from the face half a turn and glide to the ends to create face-framing curls.
Easy_Side_Fishtail_Step_12_Grid.jpgSTEP 12

SEPARATE WAVES WITH FINGERS

Separate the waves with your fingers to create a softer finish.