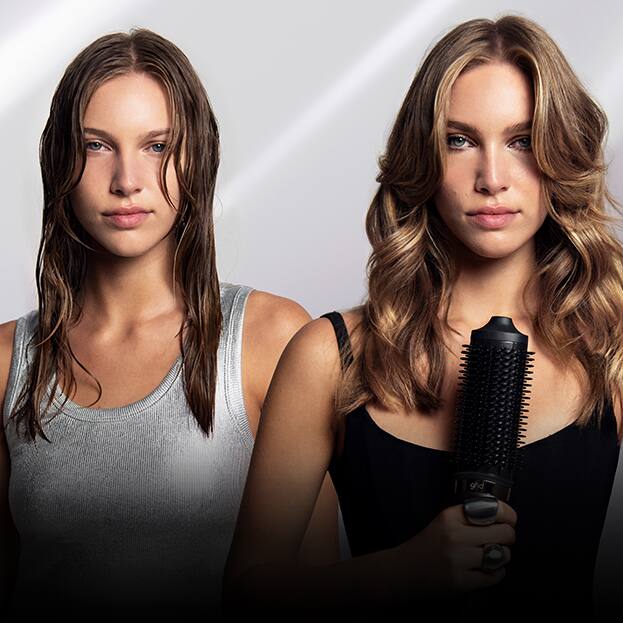
HOW TO CREATE THE MODERN MULLET
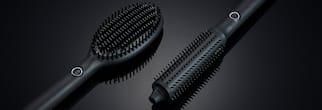
It's time for the mullet revival! This edgy interpretation of a classic demonstrates just how much texture and layering you can get into the hair, regardless of length! Using the ghd mini styler's 40% slimmer plates, you can ensure precise styling from the root - ideal for short hair and fringes and achieving this modern mullet!
SHOP THE LOOK
![](https://media.ghdhair.com/images/product/653_Primary_Image_Global.jpg?v=1700565417720&impolicy=CarouselImageItem)
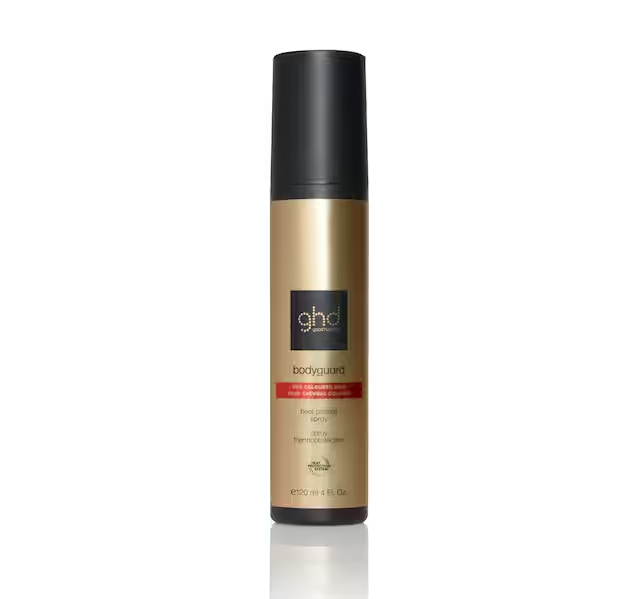
GHD BODYGUARD - HEAT PROTECTION SPRAY FOR COLOURED HAIR
![](https://media.ghdhair.com/images/product/662_Mini24_PLP_PrimaryImage_Global.jpg?v=1709637034760&impolicy=CarouselImageItem)
ghd Mini Slim Plate Hair Straightener (15mm plate) Black
STEP-BY-STEPS
![Mini24_Modern_Mullet_Step_1@3x.jpg](https://media.ghdhair.com/images/content/Mini24_Modern_Mullet_Step_1@3x.jpg?v=1711629845669&impolicy=ImageGrid)
STEP 1. PREP
Mist the hair with ghd bodyguard for coloured hair.
![Mini24_Modern_Mullet_Step_2@3x.jpg](https://media.ghdhair.com/images/content/Mini24_Modern_Mullet_Step_2@3x.jpg?v=1711630022932&impolicy=ImageGrid)
STEP 2. SECTION HAIR
Divide the hair into 4 quadrants and take a 2 inch horizontal section.
![Mini24_Modern_Mullet_Step_3@3x.jpg](https://media.ghdhair.com/images/content/Mini24_Modern_Mullet_Step_3@3x.jpg?v=1711630134537&impolicy=ImageGrid)
STEP 3. ANGLE STYLER
Place ghd mini parallel to the section.
![Mini24_Modern_Mullet_Step_4@3x.jpg](https://media.ghdhair.com/images/content/Mini24_Modern_Mullet_Step_4@3x.jpg?v=1711630416986&impolicy=ImageGrid)
STEP 4. PRESS
Pushing the hair into an S shape, press down on the wave with mini to mold into shape.
![Mini24_Modern_Mullet_Step_5@3x.jpg](https://media.ghdhair.com/images/content/Mini24_Modern_Mullet_Step_5@3x.jpg?v=1711630572753&impolicy=ImageGrid)
STEP 5. REPEAT
Repeat the technique keeping the S shape flowing from root to tip.
![Mini24_Modern_Mullet_Step_6@3x.jpg](https://media.ghdhair.com/images/content/Mini24_Modern_Mullet_Step_6@3x.jpg?v=1711630752141&impolicy=ImageGrid)
STEP 6. CONTINUE
Continue this technique up to a top horseshoe section.
![Mini24_Modern_Mullet_Step_7@3x.jpg](https://media.ghdhair.com/images/content/Mini24_Modern_Mullet_Step_7@3x.jpg?v=1711630851177&impolicy=ImageGrid)
STEP 7. HORSE SHOE
Taking inch square sections, place ghd mini parallel to the section
![Mini24_Modern_Mullet_Step_8@3x.jpg](https://media.ghdhair.com/images/content/Mini24_Modern_Mullet_Step_8@3x.jpg?v=1711630982834&impolicy=ImageGrid)
STEP 8. TRAVEL
Glide off base at 45° until reaching the ends.
![Mini24_Modern_Mullet_Step_9@3x.jpg](https://media.ghdhair.com/images/content/Mini24_Modern_Mullet_Step_9@3x.jpg?v=1711631557720&impolicy=ImageGrid)
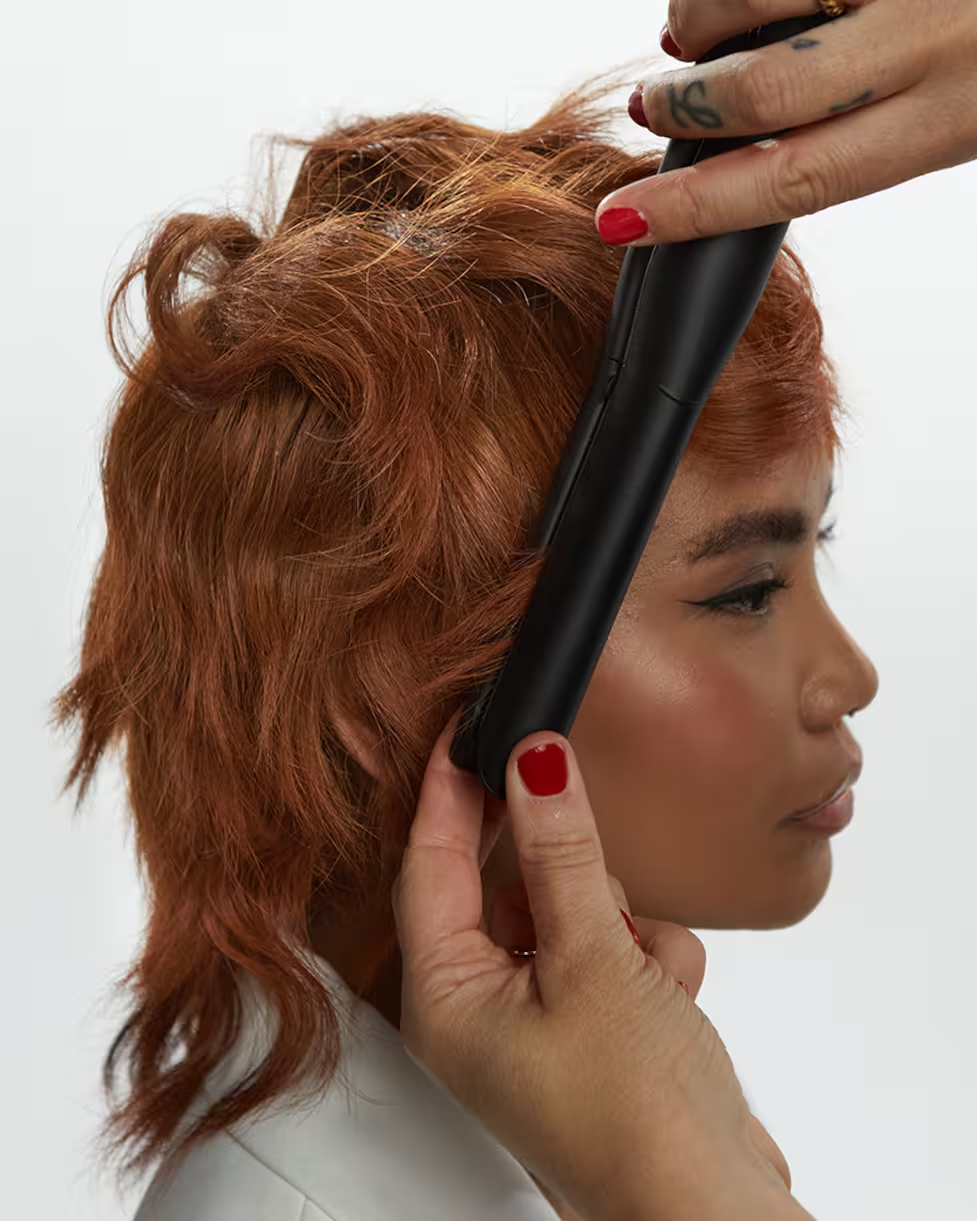
STEP 9. CONTINUE
Continue this technique through out the horseshoe alternating direction.
![Mini24_Modern_Mullet_Step_10@3x.jpg](https://media.ghdhair.com/images/content/Mini24_Modern_Mullet_Step_10@3x.jpg?v=1711631700643&impolicy=ImageGrid)
STEP 10. FINISH
Mist ghd perfect ending final fix hairspray onto your hands and massage to soften
the texture.
the texture.
![Mini24_Modern_Mullet_Step_final_look@3x.jpg](https://media.ghdhair.com/images/content/Mini24_Modern_Mullet_Step_final_look@3x.jpg?v=1711632046138&impolicy=ImageGrid)