Braided_Updo_Header_Image_Global.jpg
GET THE LOOK

BRAIDED UPDO

Say goodbye to boring updo hairstyles – it’s time to reinvent how you wear your hair up. Get your locks up and out of the way with the braided updo, a nonconformist look for the modern day girl. This updo brings a breezy braid hairstyle with a touch of elegant opulence for a style that wouldn’t look out of place in the fields of a rock festival or round the table of a LBD occasion.

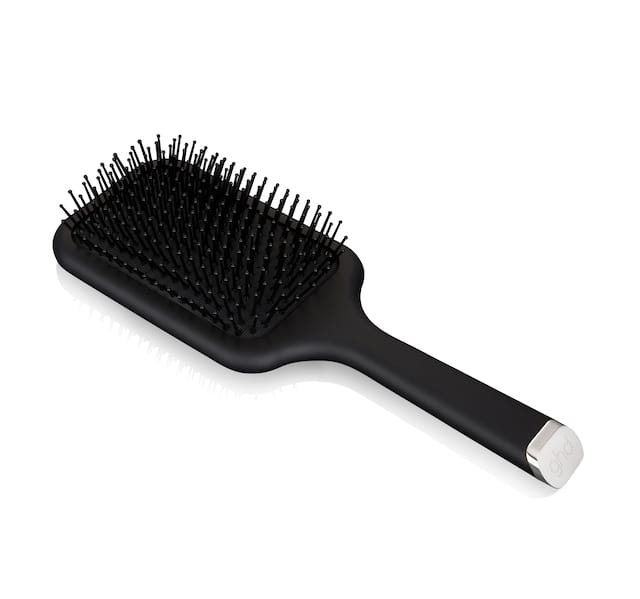
Having the right styling kit is key to achieving a braided updo. To create even braids, you need to have an even natural parting, so use the ghd paddle brush to smooth your hair out. Give your look a softened finish by loosening your face-framing hair lengths and bringing them to life with the ghd platinum+ styler.

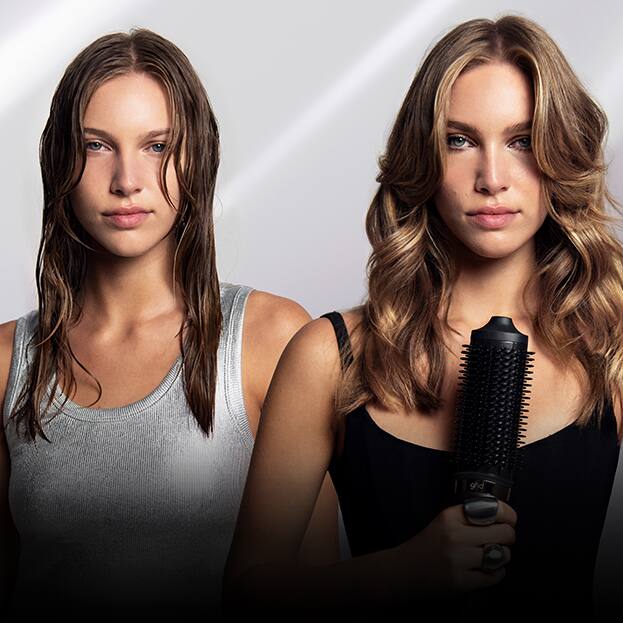
Make a plait hairstyle your statement look with a braided updo. Achieve this style with ease, thanks to the ghd how-to guide.

Braided_Updo_Split_Banner_Global.jpg

HERE’S HOW TO CREATE A BRAIDED UPDO

1. Create natural parting

2. Section front of hair from parting to ear

3. Split section in 3

4. Twist left over middle twice

5. Split twist and pass left strand over middle

6. Pass the right strand over the middle

7. Twist left over middle twice, split and
pass left over middle again

8. Repeat step 6

9. Repeat technique

10. Tie with an elastic

11. Repeat on other side

12. At back, create three sections and braid each one

13. Loosen braids

14. Secure two front braids at back of head

15. Fold back left braid to right and secure on far side

16. Fold rest of braid to the left and secure

17. Wrap the other braids around on top and secure

18. Curl front sections with styler

STEP BY STEPS

Braided_Updo_Step_1_Grid_Global.jpgSTEP ONE:

CREATE NATURAL PARTING

Brush hair back and into natural parting using the ghd paddle brush.
Braided_Updo_Step_2_Grid_Global.jpgSTEP TWO:

SECTION FRONT OF HAIR FROM PARTING TO EAR

Section the front of the hair at either side of the face, from the parting to your ear.

Braided_Updo_Step_3_Grid_Global.jpgSTEP THREE

SPLIT SECTION IN 3

To braid each section with a double twist braid, split one section into three strands.

Braided_Updo_Step_4_Grid_Global.jpgSTEP FOUR:

TWIST LEFT OVER MIDDLE TWICE

Take the left strand and twist it over the middle strand twice.

Braided_Updo_Step_5_Grid_Global.jpgSTEP FIVE:

SPLIT TWIST AND PASS LEFT STRAND OVER MIDDLE

Split the twist in half and pass the left strand over the middle strand.
Braided_Updo_Step_6_Grid_Global.jpgSTEP SIX:

PASS THE RIGHT STRAND OVER THE MIDDLE

Without twisting the hair, pass the right strand over the middle strand.

Braided_Updo_Step_7_Grid_Global.jpgSTEP SEVEN:

TWIST LEFT OVER MIDDLE TWICE, SPLIT AND PASS LEFT OVER MIDDLE AGAIN

On the left side, twist the left over the middle twice again, before splitting and passing the left strand over the middle strand.

Braided_Updo_Step_8_Grid_Global.jpgSTEP EIGHT:

REPEAT STEP 6

Pass the right strand over the middle again without twisting.
Braided_Updo_Step_9_Grid_Global.jpgSTEP NINE:

REPEAT TECHNIQUE

Repeat down, always twisting the left section twice before passing over.
Braided_Updo_Step_10_Grid_Global.jpgSTEP TEN:

TIE WITH AN ELASTIC

As you reach the end, secure the hair with an elastic.
Braided_Updo_Step_11_Grid_Global.jpgSTEP ELEVEN:

REPEAT ON OTHER SIDE

Repeat the same technique on the other side of your head.
Braided_Updo_Step_12_Grid_Global.jpgSTEP TWELVE:

AT BACK, CREATE THREE SECTIONS AND BRAID EACH ONE

With the remaining back section, separate into three and braid each section, securing with clear elastics as you go.
Braided_Updo_Step_13_Grid_Global.jpgSTEP THIRTEEN:

LOOSEN BRAIDS

Pull on the braids gently to create a looser shape if desired.

Braided_Updo_Step_14_Grid_Global.jpgSTEP FOURTEEN:

SECURE TWO FRONT BRAIDS AT BACK OF HEAD

Take the two front braids and secure at the back of the head with a clear elastic.
Braided_Updo_Step_15_Grid_Global.jpgSTEP FIFTEEN:

FOLD BACK LEFT BRAID TO RIGHT AND SECURE ON FAR SIDE

Taking the back braid to the left, fold it across to the right braid and secure at the far side of the head with a grip.

Braided_Updo_Step_16_Grid_Global.jpgSTEP SIXTEEN:

FOLD REST OF THE BRAID TO THE LEFT AND SECURE

Fold the remaining length of the braid back to the left and secure at the end with a grip.

Braided_Updo_Step_17_Grid_Global.jpgSTEP SEVENTEEN:

WRAP THE OTHER BRAIDS AROUND ON TOP AND SECURE

To complete your braided look, wrap all the remaining plaits around the top of your head and secure in place with a grip.
Braided_Updo_Step_18_Grid_Global.jpgSTEP EIGHTEEN:

CURL FRONT SECTIONS WITH STYLER

Place the ghd platinum+ styler in at the roots pointing downwards, rotate away from the face half a turn, and glide to the ends.
Braid_Hairstyles_Parent_Hub_Split_Banner_Global.jpg

BRAID HAIRSTYLES

LOOKING FOR INSPIRATION?
Master your braid skills with more of our ghd how-to guides for braided hairstyles. Perfect for summer, college or festivals, add more braided styles to your repertoire!